
Use the Student View tab in the Teaching Manager module to contact teaching forms by e-mail or SMS message directly. This saves time loading additional modules. Contact students to inform them of a change to a subject, such as a change of teacher.
- Use the Subject View tab if you need to contact students in a teaching set.
- This function is available throughout the Teaching Manager module whenever you display a timetable.
- See View Student Contact Details if you just want to quickly view student contact details.
To contact a teaching form, follow the steps below:
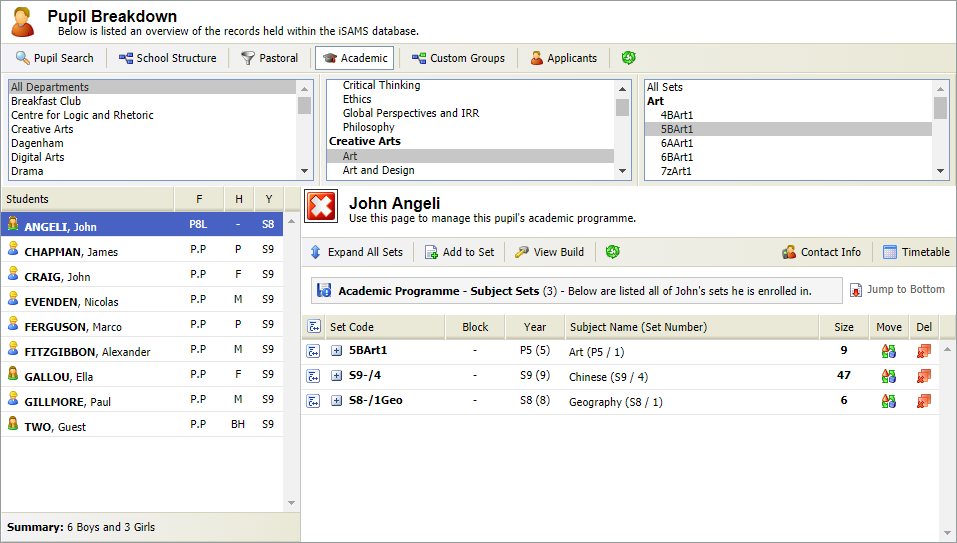
- Open the Teaching Manager module and select the Student View tab:

- Use the Academic filters available to select the form that you want to contact.
- Click on any of the pupils listed:
- Click
 in the top right of the screen.
The Student Timetable window is displayed: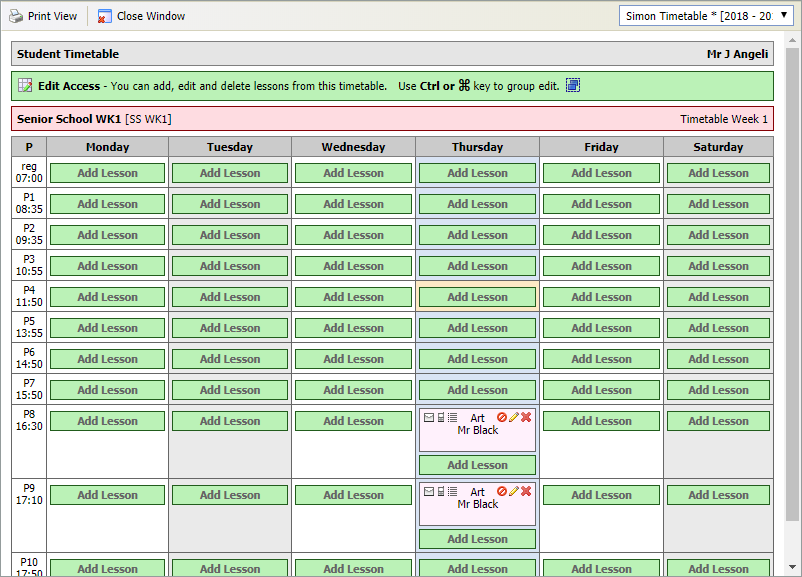
- Choose to:
E-mail a Form
- Click
 in your selected teaching period.
The Create Group E-mail window is displayed:
- Select the E-Mail Message tab:
- Enter an E-Mail Subject.
- Enter the e-mail text. Apply text formatting and links, if required.
- Click the E-Mail Attachments tab to attach files, if required.
This is an example of the E-Mail Attachments tab: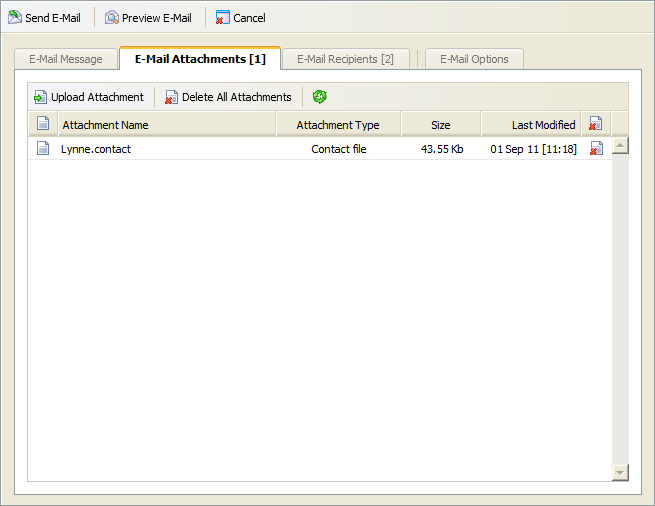
- Click Upload Attachment.
- Click Choose File and select a file on your computer.
Click Upload Attachment.
See below for the other icons you can use when making attachments:Icon
Explanation

Click to delete individual attachments.
Delete All Attachments
Click to delete all attachments.

Click to refresh the information in the tab.
- Select the E-Mail Recipients tab:

- Either:
- Check the boxes next to students' names to select those who are to receive this e-mail.
or - Check the box in the tab header bar to select or deselect all students listed.
- Check the boxes next to students' names to select those who are to receive this e-mail.
- Select the E-Mail Options tab:

- Enter Recipient Options to CC and BCC recipients.
- Enter Sender Options. By default this is filled with your details.
- Select an E-Mail Priority from the drop down list.
- Check the History Option box to keep a record of the e-mail. This is stored in the student's Communication History in the Student Manager module.
- Click
 Preview E-Mail, if required.
 - Click
 Send E-Mail.
Send an SMS Message to Form
- Click
 in your selected teaching period.
The Create Group SMS Message window is displayed:
- Enter the SMS Message in the field shown with a maximum of 459 characters. Messages over 153 characters are divided into a number of messages. The Message Total is displayed.
- Select the Outbound Sender Identity. SMS message recipients see the selected Sender Identity as the caller ID. If a virtual number is selected here, the recipient only sees the number in caller ID (the message may need to be clear that it is from your school). Use virtual numbers if you want the recipient of the message to reply.
- Check the History Option box to keep a record of the SMS message. This is stored in the students' Communication History in the Student Manager module.
- Click the SMS Recipients tab:

Check the boxes for those students who are to receive this SMS message.
- You can only select students with a valid SMS number, indicated by
 .
.  indicates an invalid SMS number.
- You can only select students with a valid SMS number, indicated by
Click Send SMS Message.