
Use Timetable Configuration to setup the Timetable Manager module for use. When you first access the module this is the first option to display:
- Open the Timetable Manager module and select the Configuration tab:
- Select Timetable Configuration from the right hand menu:
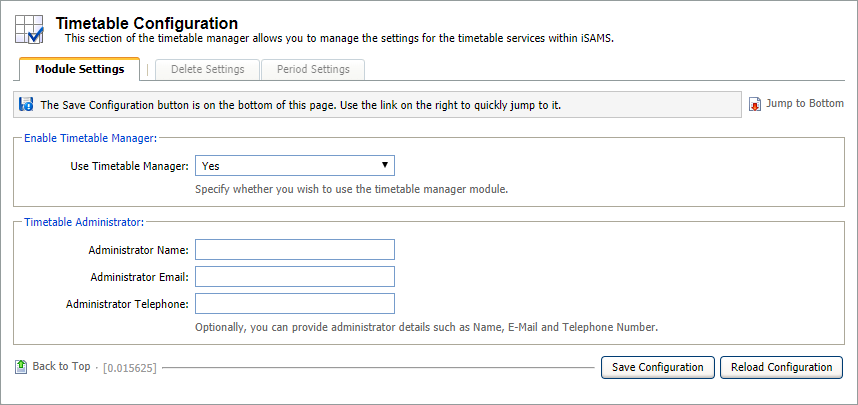
- Select the Module Settings tab and work through the fields available:
- Select 'Yes' in the Use Timetable Manager field for the module to work.
- Enter Timetable Administrator details here. Provide a point of contact should users want to make amendments to the module and inform the administrator.
- Select the Delete Settings tab and select the delete icons that you want to use in timetables. Preview Timetables are available in each of the timetables you create, use them to view and edit timetables for individual students, teachers, rooms, etc.
Select 'Yes' to display the delete icon. Using the delete icon in a timetable removes the item from the whole school timetable, not just the individual timetable you are viewing. This is useful if you want to delete a subject from the whole school timetable. However, use with caution when using in a student timetable as the lesson you delete will also be removed from the timetables of the rest of the students in the lesson.


Select 'No' to display a hide icon in Preview Timetables. Use the hide icon to hide the lesson from display in an individual student timetable. The hide icon is only used in the student timetable.

Select the Period Settings tab to select the weeks which are displayed on timetables:
- Select 'No' in Restrict to Allocated Week to display all weeks in the timetable.
- Select the number of weeks that you want to display in the calendar at the same time. This is useful if you have a two week rotating timetable. Select '2' here to display both weeks at the same time.
You are now ready to setup Timetable Terminology.