
Use the Invoice Generation tab in the Fees Billing module to email pupil invoices to billing contacts.
- Fees Billing must be configured to enable invoices to be emailed for this function to operate as expected.
- The invoice publishing routine can be run multiple times for the same invoice run. This is useful if:
- An invoice was not included in the original invoice run. An invoice may not have been included in the invoice run if the billing contact did not have an email address logged and now they have.
or - You need to send a duplicate invoice to a recipient.
- An invoice was not included in the original invoice run. An invoice may not have been included in the invoice run if the billing contact did not have an email address logged and now they have.
Choose to:
- After generating the invoice run, click Publish By Email in the Invoice Publishing tab:

Step 1 of the Publish By Email wizard opens:
- Select Email Full Invoice Run and click Next to display step 2 of the wizard:
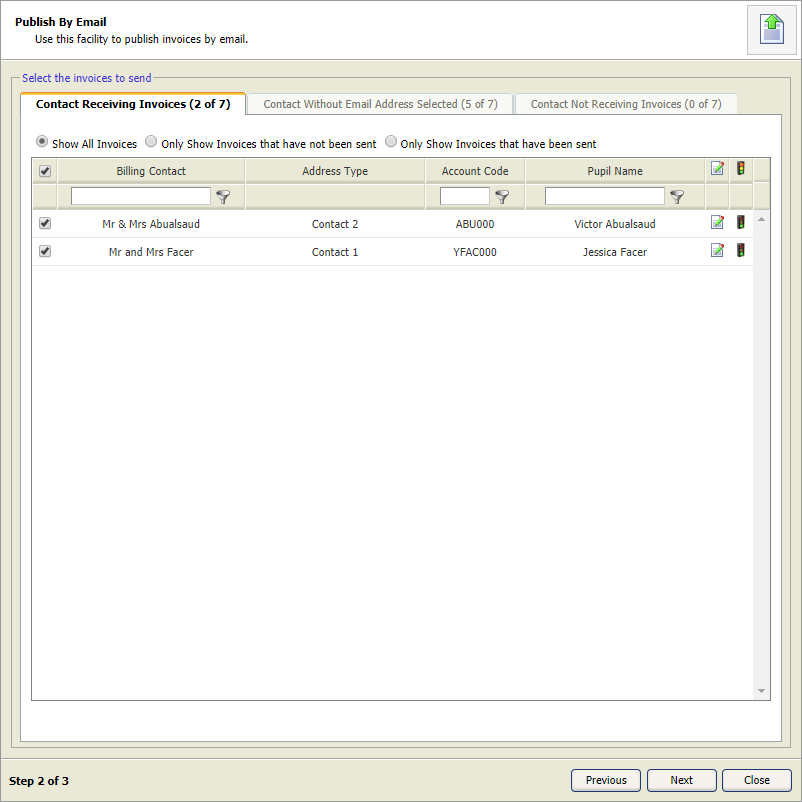
Three tabs are displayed in step 2 of the wizard:- Contact Receiving Invoices. These are billing contacts who have been marked to receive invoices by email and have an email address logged in their contact record.
- Contact Without Email Address Selected. These are billing contacts who have been marked to receive invoices by email and but have no email address logged in their contact record.
- Contact Not Receiving Invoices. These billing contacts have not been marked to receive invoices by email.
- Select the Contact Receiving Invoices tab and review the contacts listed:
- Click
 in each contact to view the Edit Billing Details window:
- Select the Invoice Preferences tab:
- Use the radio buttons to set when invoices are sent by email to contacts. Default settings are configured in the Fees Billing module.
- Use the checkboxes next to each email address to select where invoices are sent.
- Click Save and Close. Your selections are saved for future invoice runs.
- Click
- In the Contact Receiving Invoices tab, select the 'Show All Invoices' radio button at the top of the tab.
- Use the checkboxes to select the contacts who are to receive invoices by email.
- Select the Contact Without Email Address Selected tab to update contacts with email addresses:
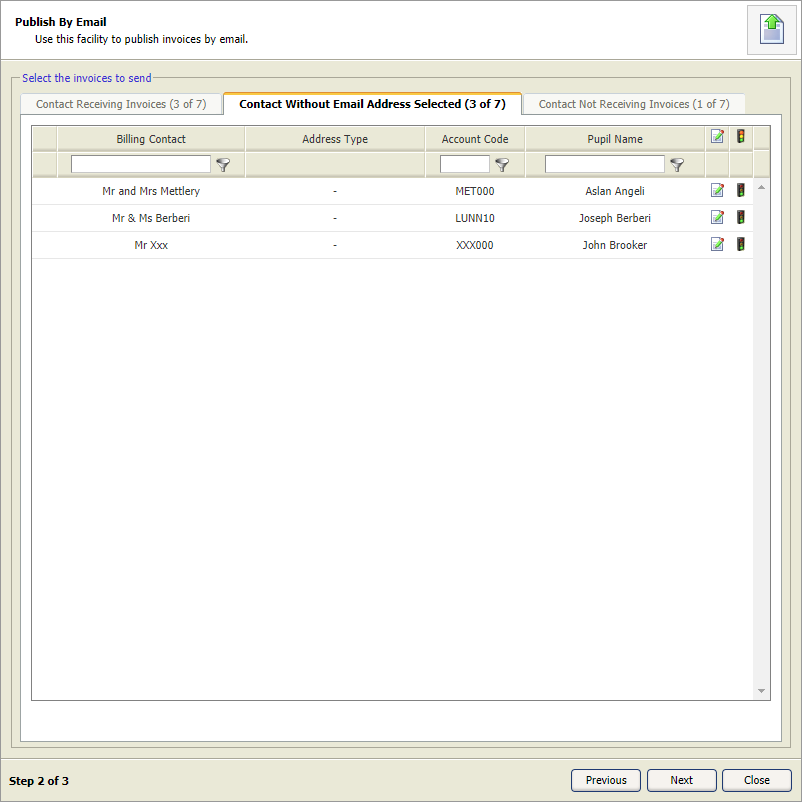
- Use the filters to search for a billing contact to work with (this is useful if you have a hugh number of contacts listed):
- Enter a search term in your selected field.
- Click
 and select how the filter should be applied to the list of contacts.
- Click in each contact to view the Edit Billing Details window:

- Select the Invoice Preferences tab:
- Use the radio buttons to set when invoices are sent by email to contacts. Default settings are configured in the Fees Billing module.
- Use the checkboxes next to each email address to select where invoices are sent.
- Click Save and Close. Your selections are saved for future invoice runs and are now displayed in the Contact Receiving Invoices tab.
- Click Next to display step 3 of the wizard:

- Select the template that you want to use for the email.
- Edit the default email subject, sender name and email address if required.
- Update the template if necessary. Enter the body of the email using the merge fields and formatting bar, if required.
- Click Finish and click OK in the popup window confirming the number of emails being sent.
The invoice is emailed. All emailed invoices are listed in the Email History option.
- Use the filters to search for a billing contact to work with (this is useful if you have a hugh number of contacts listed):
An invoice may not have been included in the original invoice run if the billing contact did not have an email address logged and now they have.
- Click Publish By Email in the Invoice Publishing tab:
Step 1 of the Publish By Email wizard opens: - Select Email Full Invoice Run and click Next to display step 2 of the wizard:
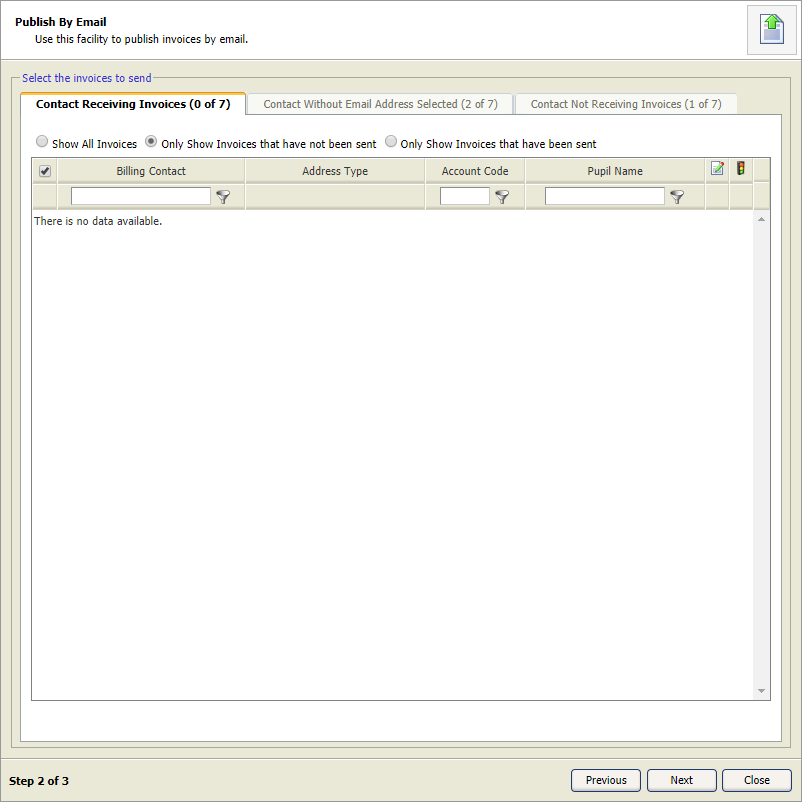
- In the Contact Receiving Invoices tab, select the 'Only Show Invoices that have not been sent' radio button at the top of the tab.
- Select the Contact Without Email Address Selected tab to update contacts with email addresses:
- Use the filters to search for a billing contact to work with (this is useful if you have a hugh number of contacts listed):
- Enter a search term in your selected field.
- Click and select how the filter should be applied to the list of contacts.
- Click in each contact to view the Edit Billing Details window:
- Select the Invoice Preferences tab:
- Use the radio buttons to set when invoices are sent by email to contacts. Default settings are configured in the Fees Billing module.
- Use the checkboxes next to each email address to select where invoices are sent.
- Click Save and Close. Your selections are saved for future invoice runs and are now displayed in the Contact Receiving Invoices tab.
- Use the checkboxes to select the contacts who are to receive invoices by email.
- Click Next to display step 3 of the wizard:
- Select the template that you want to use for the email.
- Edit the default email subject, sender name and email address if required.
- Update the template if necessary. Enter the body of the email using the merge fields and formatting bar, if required.
- Click Finish and click OK in the popup window confirming the number of emails being sent.
The invoice is emailed . All emailed invoices are listed in the Email History option.
- Use the filters to search for a billing contact to work with (this is useful if you have a hugh number of contacts listed):
- Click Publish By Email in the Invoice Publishing tab:
Step 1 of the Publish By Email wizard opens: - Select Email Full Invoice Run and click Next to display step 2 of the wizard:
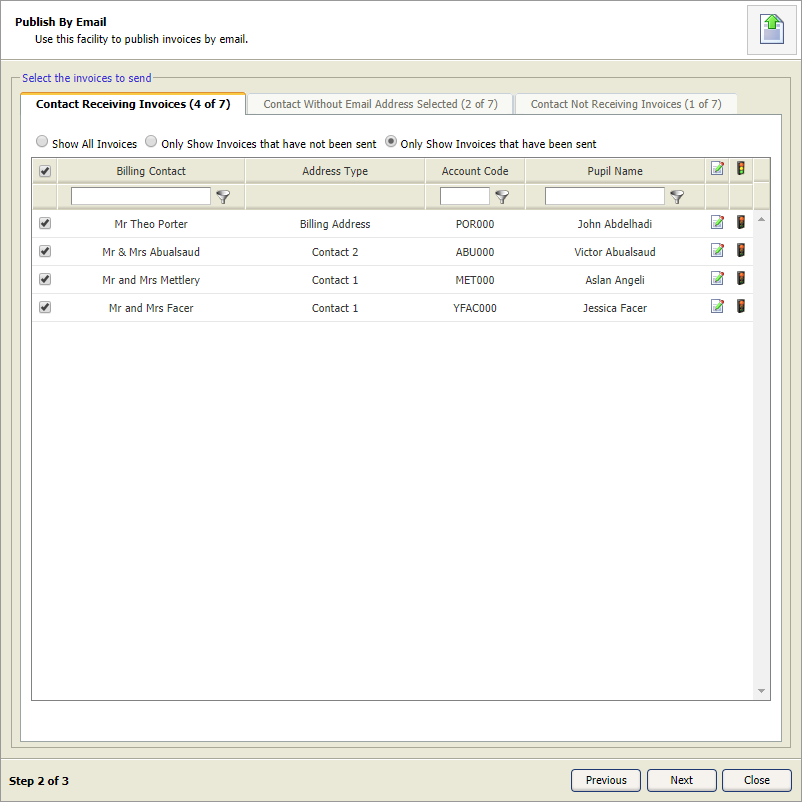
- In the Contact Receiving Invoices tab, select the 'Only Show Invoices that have been sent' radio button at the top of the tab.
- Use the checkboxes to select the contacts who are to receive duplicate invoices by email.
- Click Next to display step 3 of the wizard:
- Select the template that you want to use for the email.
- Edit the default email subject, sender name and email address if required.
- Update the template if necessary. Enter the body of the email using the merge fields and formatting bar, if required.
- Click Finish and click OK in the popup window confirming the number of emails being sent.
The invoice is emailed . All emailed invoices are listed in the Email History option.
- After generating the 'Amended Invoices Only' invoice run, click Publish By Email in the Invoice Publishing tab:
Step 1 of the Publish By Email wizard opens:
- Select Email Amendments Only and click Next to display step 2 of the wizard:
Three tabs are displayed in step 2 of the wizard:- Contact Receiving Invoices. These are billing contacts who have been marked to receive invoices by email and have an email address logged in their contact record.
- Contact Without Email Address Selected. These are billing contacts who have been marked to receive invoices by email and but have no email address logged in their contact record.
- Contact Not Receiving Invoices. These billing contacts have not been marked to receive invoices by email.
- Select the Contact Receiving Invoices tab and review the contacts listed:
- Click in each contact to view the Edit Billing Details window:
- Select the Invoice Preferences tab:
- Use the radio buttons to set when invoices are sent by email to contacts. Default settings are configured in the Fees Billing module.
- Use the checkboxes next to each email address to select where invoices are sent.
- Click Save and Close. Your selections are saved for future invoice runs.
- Click
- In the Contact Receiving Invoices tab, select the 'Show All Invoices' radio button at the top of the tab.
- Use the checkboxes to select the contacts who are to receive invoices by email.
- Select the Contact Without Email Address Selected tab to update contacts with email addresses:
- Use the filters to search for a billing contact to work with (this is useful if you have a hugh number of contacts listed):
- Enter a search term in your selected field.
- Click and select how the filter should be applied to the list of contacts.
- Click in each contact to view the Edit Billing Details window:
- Select the Invoice Preferences tab:
- Use the radio buttons to set when invoices are sent by email to contacts. Default settings are configured in the Fees Billing module.
- Use the checkboxes next to each email address to select where invoices are sent.
- Click Save and Close. Your selections are saved for future invoice runs and are now displayed in the Contact Receiving Invoices tab.
- Click Next to display step 3 of the wizard:
- Select the template that you want to use for the email.
- Edit the default email subject, sender name and email address if required.
- Update the template if necessary. Enter the body of the email using the merge fields and formatting bar, if required.
- Click Finish and click OK in the popup window confirming the number of emails being sent.
The invoice is emailed . All emailed invoices are listed in the Email History option.
- Use the filters to search for a billing contact to work with (this is useful if you have a hugh number of contacts listed):