
Use the Report Printing module to manage grade matrix templates. Grade matrix templates determine the formatting for grade matrices displayed in an Excel spreadsheet.
Choose to:
- Open a blank Excel template spreadsheet.
- Add column and row headers to the spreadsheet to suit your requirements.
- Add conditional formatting to selected cells in the spreadsheet to suit you. For example, set up the spreadsheet to so that all cells containing a grade '1' are displayed in green. It is useful if you are familiar with the number of columns and rows which appear in the grade matrix you are generating.
- Save the Excel spreadsheet as an .xls file. This is your grade matrix template.
- Open the Report Printing module, select the Grading Matrix tab:
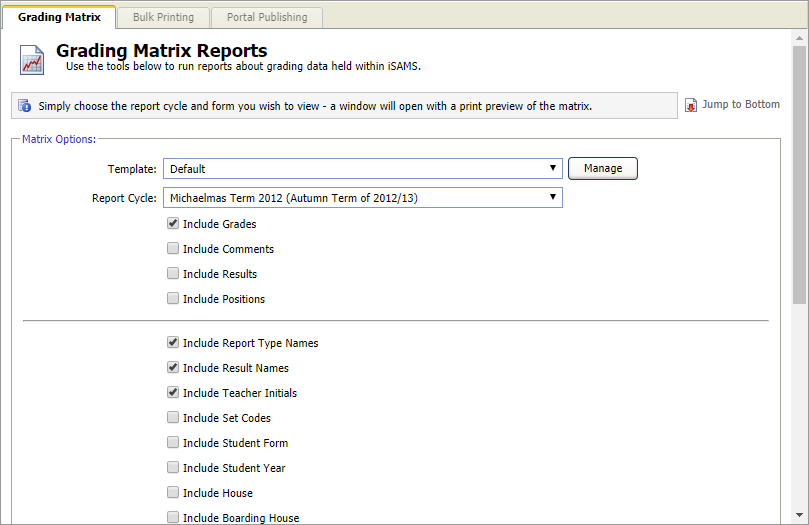
- Click Manage next to the Template field.
The Manage Templates window is displayed: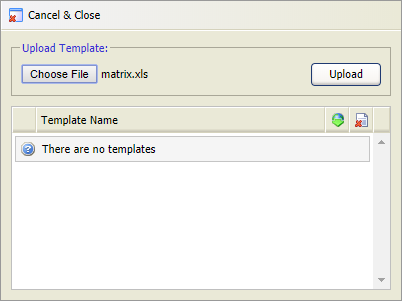
- Click Choose File and select the template that you want to add.
- Click Upload in the Manage Templates window.
The template is listed: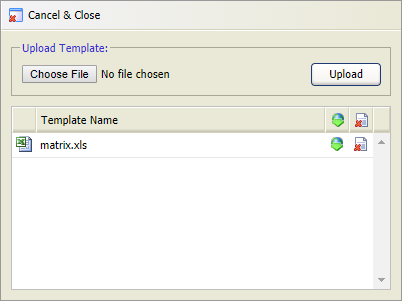
- Click Cancel & Close.
- Open the Report Printing module, select the Grading Matrix tab:
- Click Manage next to the Template field.
The Manage Templates window is displayed: - Download and edit the template:
- Click
 in your selected template to download it.
 - Open the .xls file.
- Edit the conditional formatting in the spreadsheet, as required.
- Save the .xls file and close it.
- Click
- Upload the revised template:
- Click Choose File in the Manage Templates window and select the template that you want to add.
- Click Upload.
The revised template is listed and ready to use.
- Click Cancel & Close.
- Open the Report Printing module, select the Grading Matrix tab:
- Click Manage next to the Template field.
The Manage Templates window is displayed: - Click
 in your selected template.
You are prompted that the File deleted successfully. - Click Cancel & Close.