
Use the Documents option in a medical record to upload documents to the medical record, such as hospital medical notes or parental consent forms:

- Your security profile's record sensitivity for the option is displayed. In this example, the record sensitivity restriction is 'Low' so you can only view entries with a low record sensitivity.
- This option is available in both pupil and staff medical records in the Medical Centre module.
Choose to:
- Add a document.
- Download any document listed. This is useful if you need to view the document.
- Edit a document entry. Amend an entry that has been incorrectly entered.
- Archive a document entry. This is a useful housekeeping tool for outdated entries. Choose to reverse this procedure if you need to.
- Delete a document entry. Remove an entry that has been added in error.
- View an audit log. View a log of changes made to document entries.
- Contact iSAMS if you want to create a report using document entries.
Add a Document
- Open the Medical Centre module and select the Records tab:

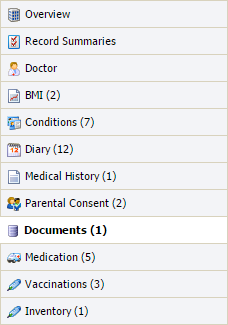
- Select Documents from the right hand menu:
- Click Add Document. The Document window is displayed:
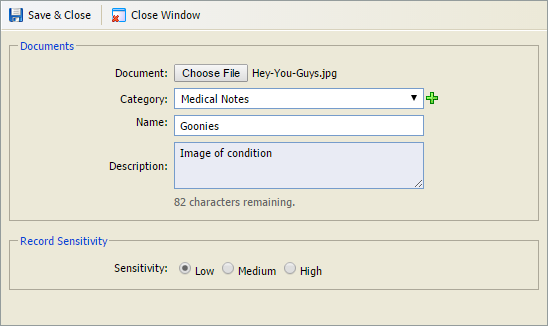
- Click Choose File and select the document that you want to upload.
- Select a Category for the document or click
 to add a new one. The document is listed under this category in the Manage Documents screen and is a useful tool if you have a high number of documents listed.
 - Enter an easy to recognise Name for the document.
- Enter more detail in the Description field.
- Set the Record Sensitivity for the entry. This defaults to 'Low'.
- Click Save & Close. The entry is listed in the Manage Documents screen.
Download a Document
- Open the Medical Centre module and select the Records tab:
- Select Documents from the right hand menu:
The Manage Documents screen is displayed: - Use the filters to display the entries that you want to work with:

- Click Download in your selected document.
The document is downloaded to your computer. A count of downloads is listed in the document entry.
Edit a Document Entry
- Open the Medical Centre module and select the Records tab:
- Select Documents from the right hand menu:
The Manage Documents screen is displayed: - Use the filters to display the entries that you want to work with:
- Click
 in your selected document. The Document window is displayed:
- Change the Category for the document or click
 to add a new one. The document is listed under this category in the Manage Documents screen and is a useful tool if you have a high number of documents listed.
 - Amend the Name for the document.
- Enter more detail in the Description field.
- Edit the Record Sensitivity for the entry. This defaults to 'Low'.
- Click Save & Close. The amended entry is listed in the Manage Documents screen.
Archive a Document Entry
- Open the Medical Centre module and select the Records tab:
- Select Documents from the right hand menu:
The Manage Documents screen is displayed:
- Use the filters to display the entries that you want to work with:

- Click
 in your selected document.
You are prompted Are you sure you want to archive this record? - Select Yes.
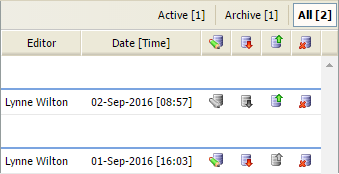
- Reinstate an archived entry by clicking
 in your selected entry.
Delete a Document Entry
- Open the Medical Centre module and select the Records tab:
- Select Documents from the right hand menu:
The Manage Documents screen is displayed: - Use the filters to display the entries that you want to work with:
- Click
 in your selected document. The Document window is displayed:
- Click Delete & Close. The entry is removed from the Manage Documents screen. A log is kept in the Audit Log.
View the Audit Log
- Open the Medical Centre module and select the Records tab:
- Select Documents from the right hand menu:
- Select the Audit Log tab:

- Click on an entry to view more detail:

- Click Close Window to close the popup.