
Use the Configuration tab in the Registration module to set up the display and registration codes for the Fire Register.
It is recommended that a current copy of the Fire Register is already printed to use in the event of an emergency.
- Open the Registration module and select the Configuration tab.
Select Fire Register from the right hand menu to display this screen:
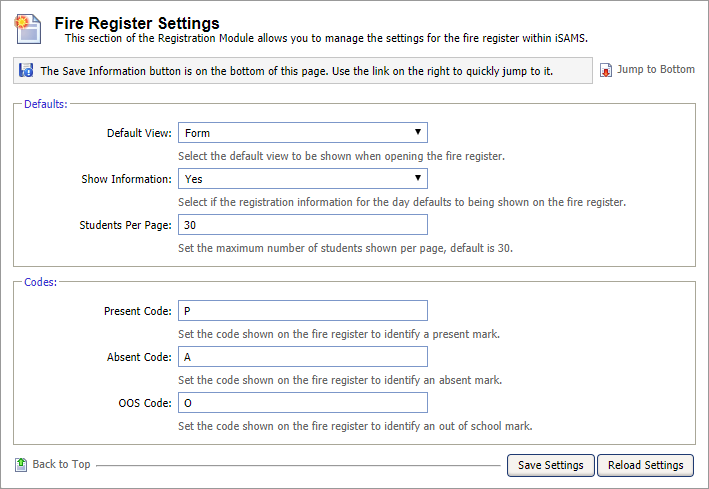
Work through the settings shown:
Setting
Explanation
Defaults
- Default View. Use the drop down list to select how students are listed in the fire register.
- Show Information. Use the drop down list to select if registration information for the day is to be shown on the fire register. It is important to be certain that information taken in registrations is completely accurate and up to date.
- Students Per Page. Use the drop down list to select the number of students displayed on each page of the fire register.
Codes
- Present Code. Enter the code to be used in the fire register to mark a student present.
- Absent Code. Enter the code to be used in the fire register to mark a student absent.
- OOS Code. Enter the code to be used in the fire register to mark a student out of school.
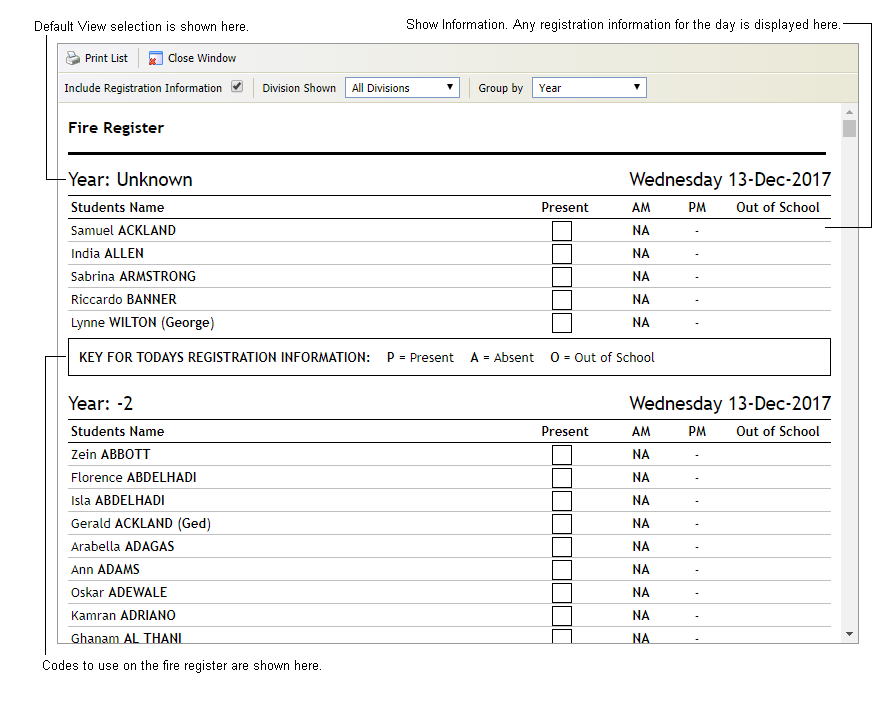
Here is an example of how your selections are shown in the Fire Register:
When the details are as required, click Save Settings.
Use the Reload Settings button to cancel any changes you have made to these settings, i.e. reset the values as they were when you first accessed this form. The Reload Settings button only cancels changes if you have not already saved them.